

Install a Custom HTTPS Certificate
From Edge 2.22, the web interface is served by default over HTTPS. The device uses a self-signed certificate, so browsers show a security warning on first access. The connection is encrypted either way — the warning only means the browser cannot verify the device’s identity. For the background, see Security Certificates.
To remove the warning permanently, install a certificate issued by a Certificate Authority (CA) that your computers already trust — normally your organization’s own CA. Obtaining that certificate and managing CA trust is a task for your IT department, or one to carry out together with them. This guide shows how to install the certificate on the device once you have it.
What you need
Section titled “What you need”Ask your IT department for a certificate issued for the device’s IP address or hostname, in one of these formats:
| Format | What to upload |
|---|---|
| PFX / PKCS#12 | the .pfx file (plus its password, if it is protected) |
| PEM bundle | a single .pem file containing the certificate and its private key |
| PEM, separate files | the certificate file and the private key file |
IT issues this from your organization’s PKI — for example Active Directory Certificate Services (AD CS) or another internal CA.
Upload the certificate
Section titled “Upload the certificate”Via Settings
Section titled “Via Settings”-
Open the Edge web interface and log in.
-
Go to Settings → Network Adapter and open the Security tab.
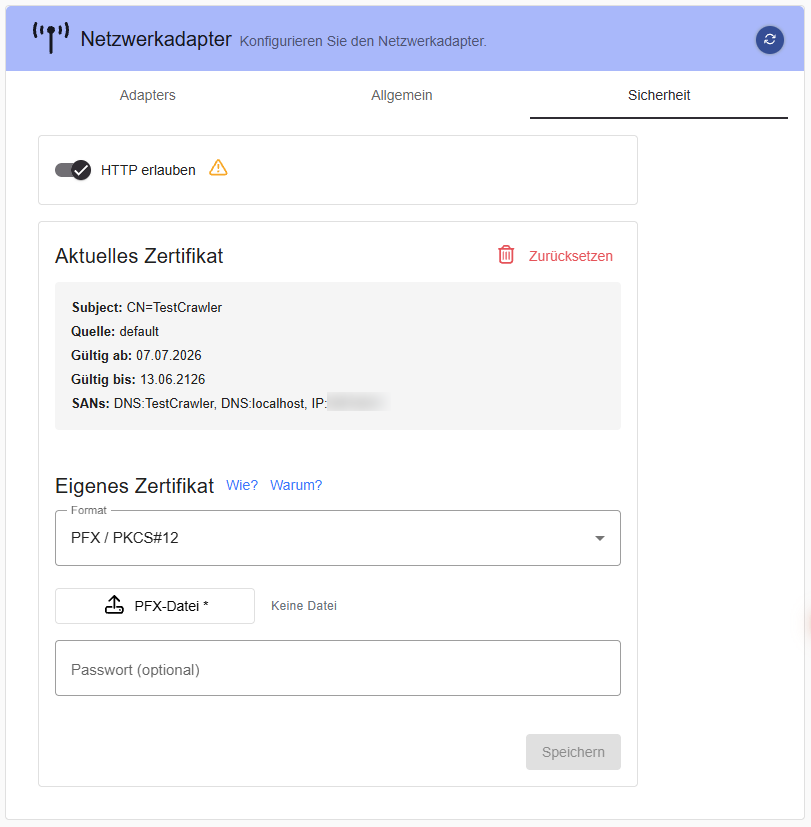
The tab has two sections. Aktuelles Zertifikat shows the currently active certificate — its Subject, Source (Quelle), validity dates, and Subject Alternative Names — and a Zurücksetzen button to revert to the built-in self-signed certificate. Below it, Eigenes Zertifikat is where you upload your own certificate. The Wie? and Warum? links next to the heading open help pages on obtaining a certificate and the reasons for using one.
-
Under Eigenes Zertifikat, choose the format you have, select the file(s), and enter the password if your PFX is protected.
-
Click Speichern. The certificate is applied immediately — no restart required.
Via Setup Wizard (during initial setup)
Section titled “Via Setup Wizard (during initial setup)”-
Start the Setup Wizard for the Edge device.
-
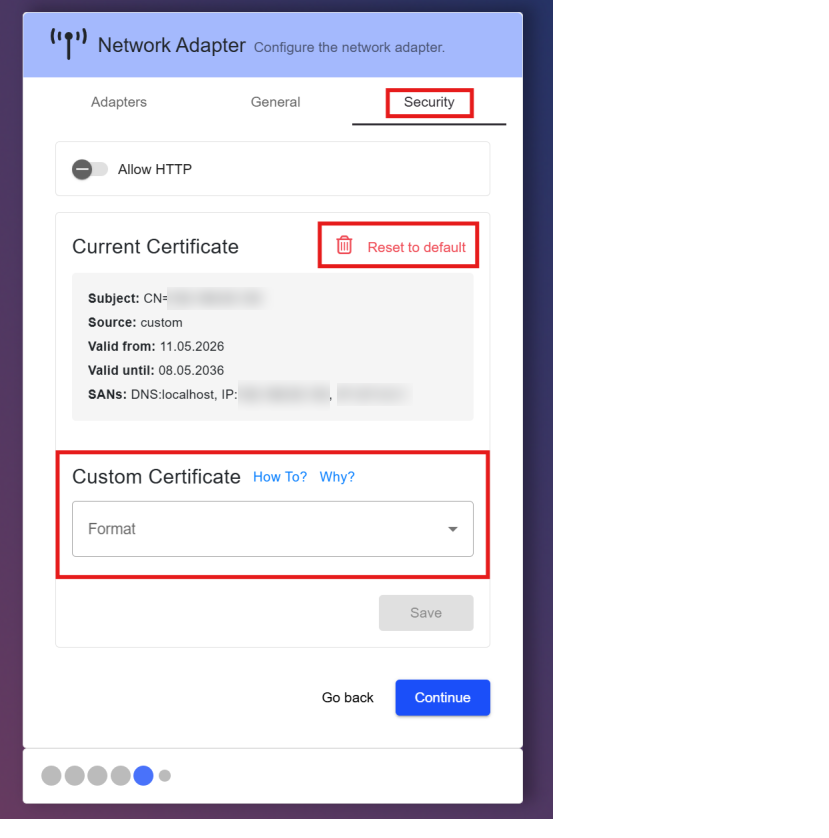
When you reach the Network Adapter step, open its Security tab and upload the certificate the same way as above.
-
Continue and complete the wizard.
Trust the issuing CA on client machines
Section titled “Trust the issuing CA on client machines”For the browser to accept the certificate without a warning, each client computer must trust the CA that issued it. In a managed (Active Directory) environment, your IT department usually distributes the CA automatically via group policy, so users need to do nothing. Otherwise, an administrator imports the CA once on each machine — if your IT team needs the exact steps, contact us.
Verify
Section titled “Verify”Close all browser windows (browsers cache certificate decisions for the whole session — closing the tab is not enough), reopen the browser, and navigate to the device. A padlock should appear with no warning.
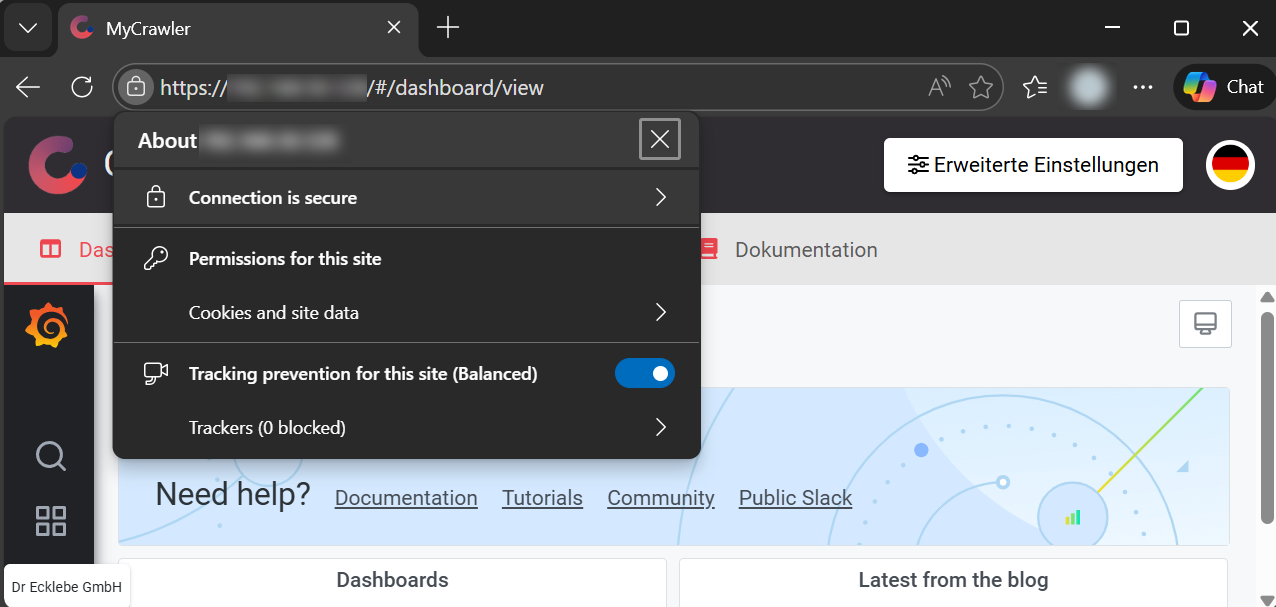
If the warning still appears, check:
- The address you use matches the IP (or hostname) in the certificate.
- Your computer trusts the CA that issued the certificate — in a managed environment, confirm with IT that the CA has been distributed.
- All browser windows were fully closed and reopened.